Camera-Robot Calibration
Calibration computes the position and orientation offset between the camera and the robot so that a point in the image corresponds to the correct 3D point in the robot's workspace.
Pick[+] offers two calibration modes:
-
Eye-in-Hand: the camera is mounted on the robot arm, so the camera moves with the robot to the different poses.
-
Hand-Eye: the camera is fixed in the environment and the robot moves underneath it.
Check your settings first
Make sure you've chosen the correct calibration size and calibration mode on the Settings Manager before calibrating.
When to Re-Calibrate
-
After remounting the camera
Any physical shift (even ~1 mm) can misalign the system. -
When pick points drift
When the robot's actual picking location consistently deviates from the calculated point. -
Every 30 days
A warning will remind you when it's time to re-calibrate.
Calibration Process
-
To start a new calibration, on the Homepage click the Calibration Manager button under Calibration:

-
Ensure both devices are online. The Calibrate button remains disabled until both camera and robot report 🟩Connected and the robot is in Remote Mode (or Automatic Operating Mode for ABB Robots):

-
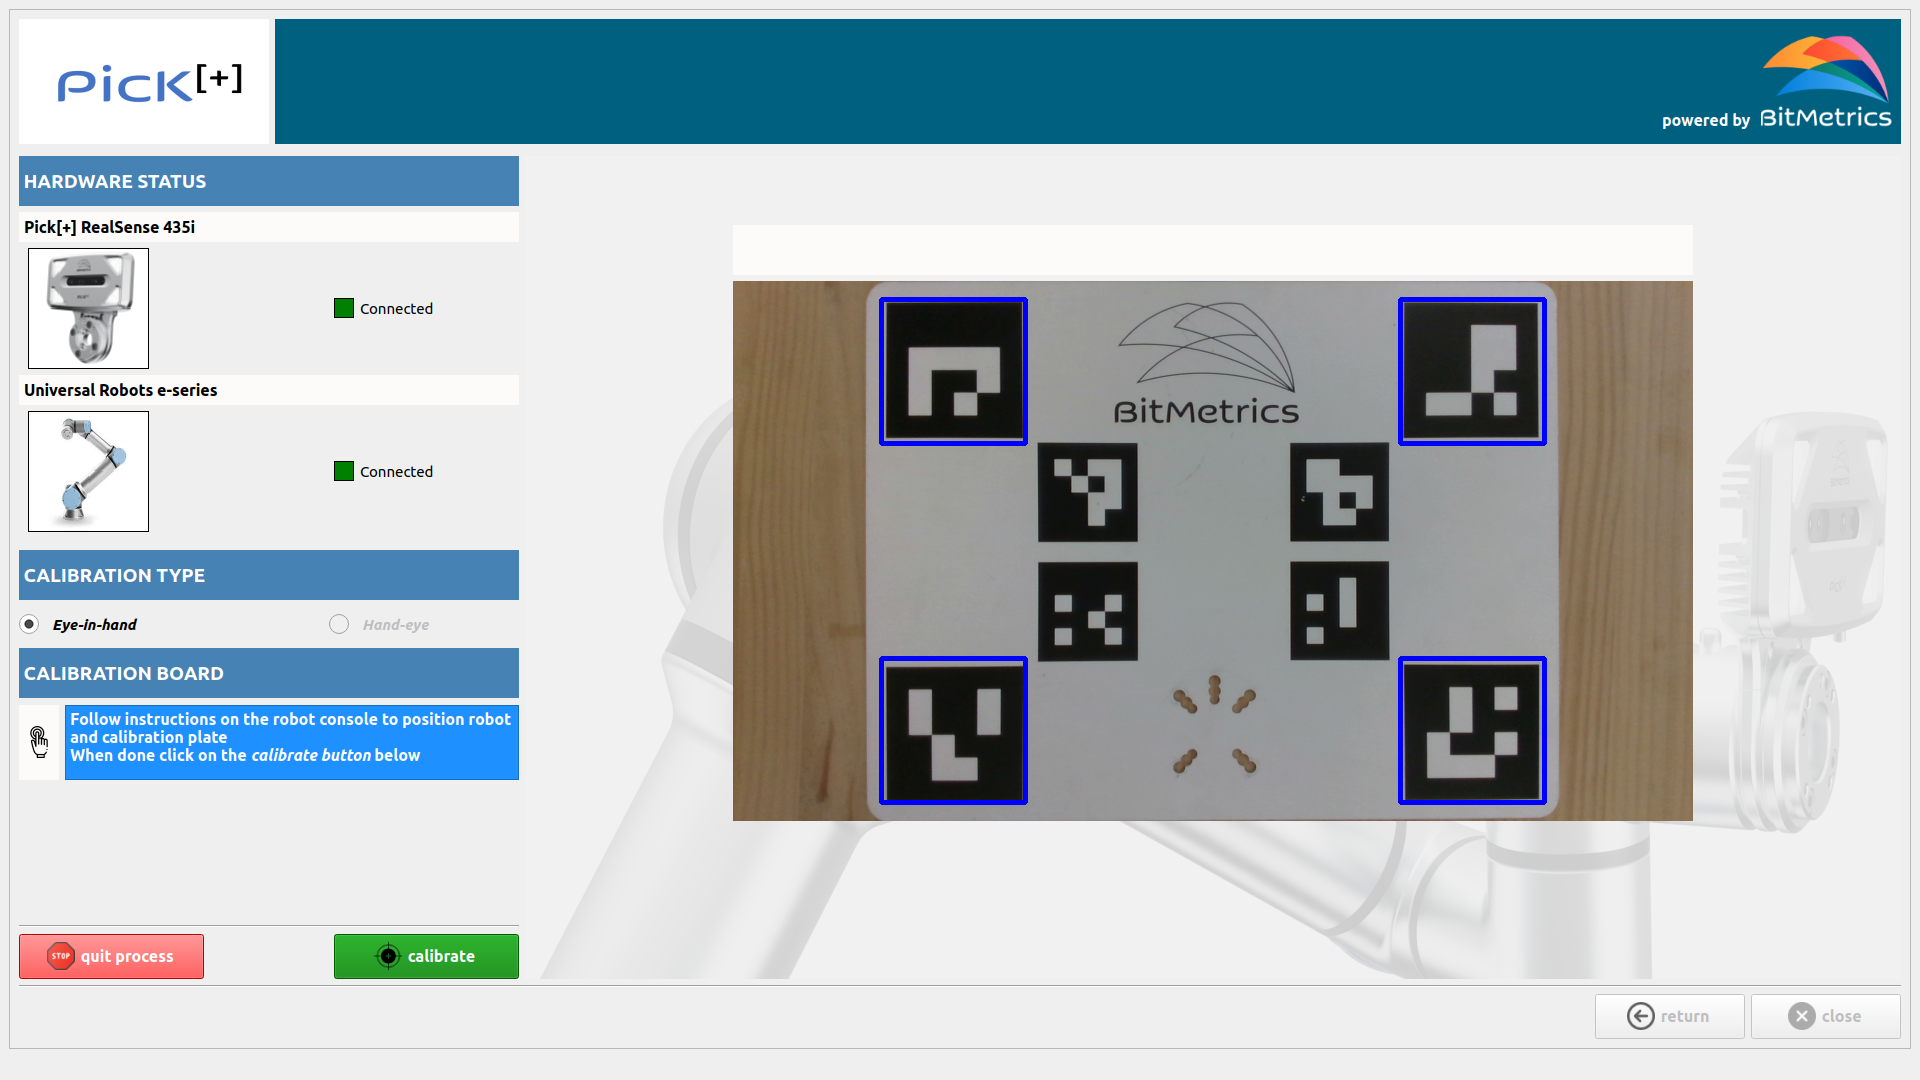
Place the calibration plate at a distance of 20-40 cm of the robot, depending on the robot's size.
-
Then click New Calibration to proceed with the pre-calibration process and follow the instructions on the robot console.
-
With the robot in freedrive mode, manually position the robot so that the four blue overlay squares on the screen roughly align with the four square markers on the calibration plate. Exact alignment is not required, an approximate match is sufficient. Newer versions may use a centered blue cross instead of the squares, in this case just make sure the plate is centered and all of its area is shown.
-
Once done, the system will check if all positions for the calibration are reachable and no collisions will happen. If a position is not reachable, move the calibration plate closer or farther and try again.
-
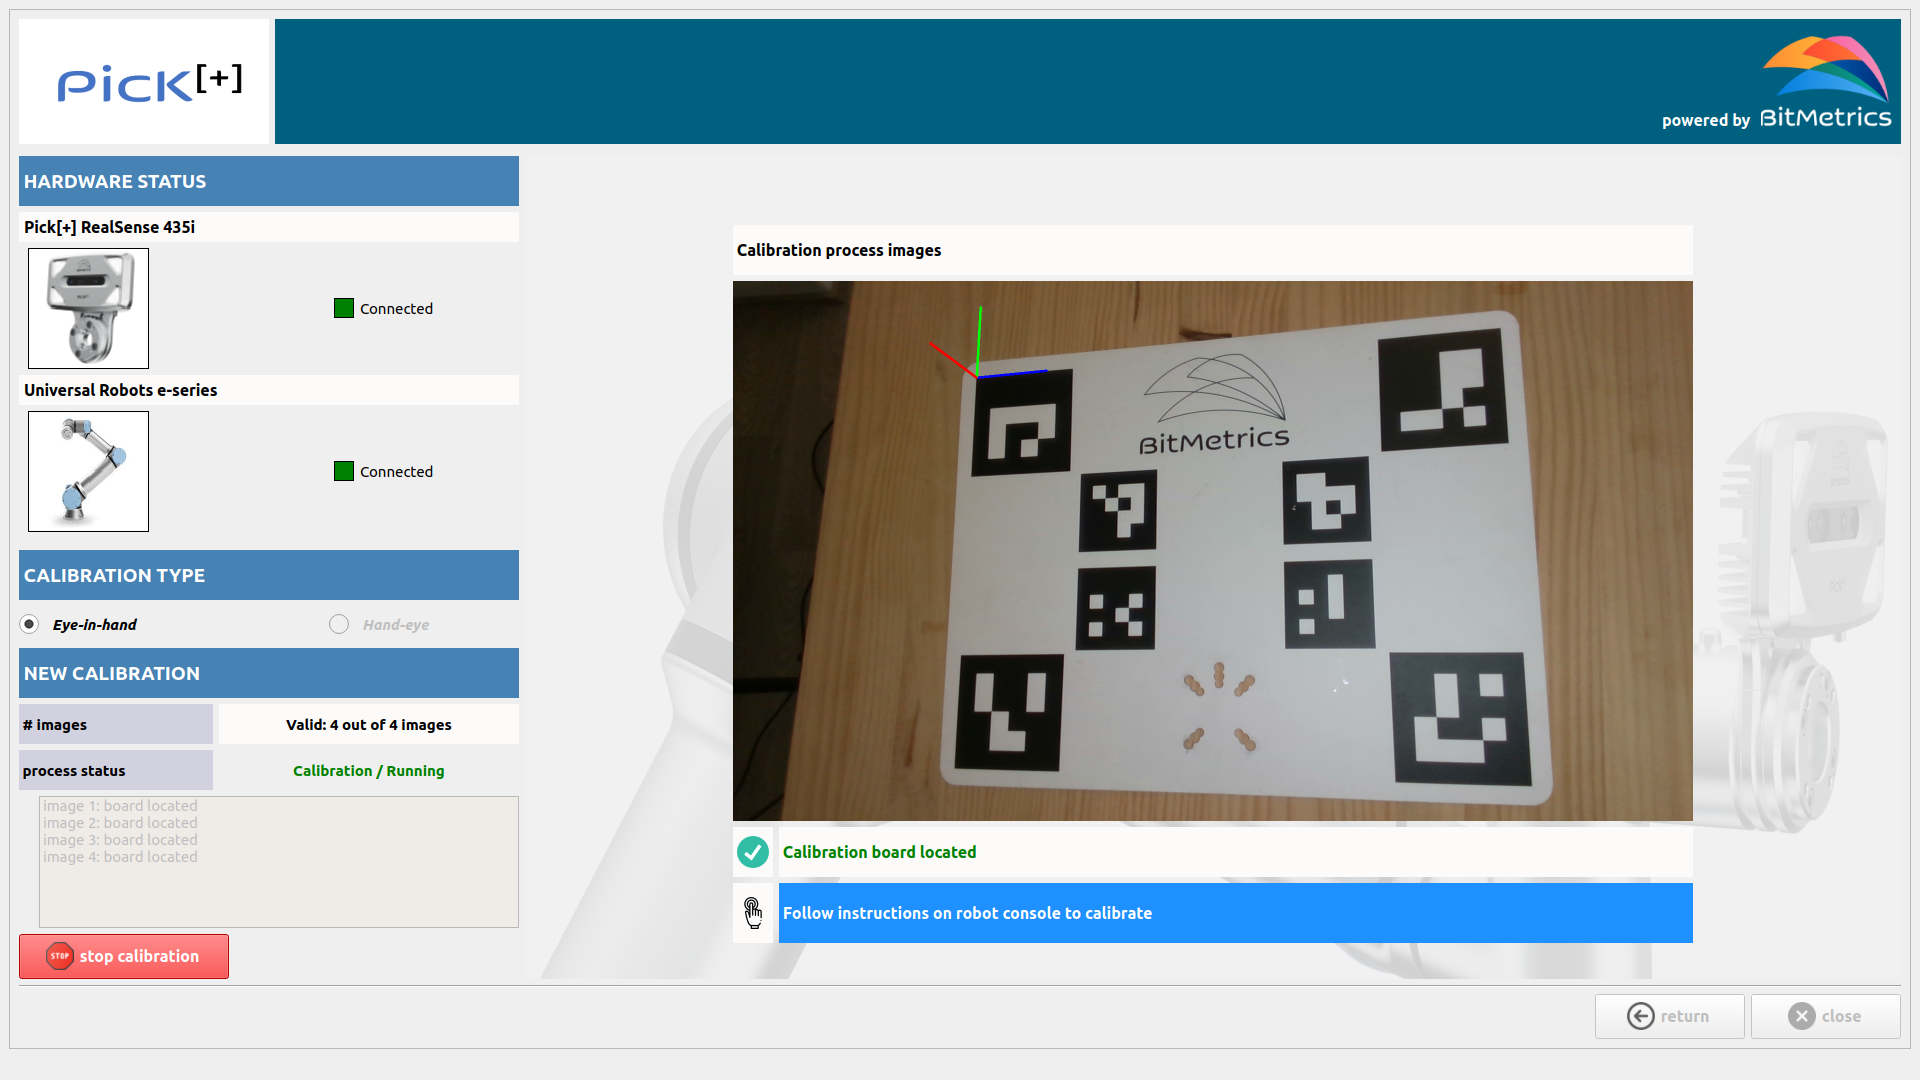
If everything is correct, click Calibrate to start the calibration process. This process is automatic and it takes ~2 min to complete.
Calibration saved!
A new calibration matrix is stored and will be used by all applications.